
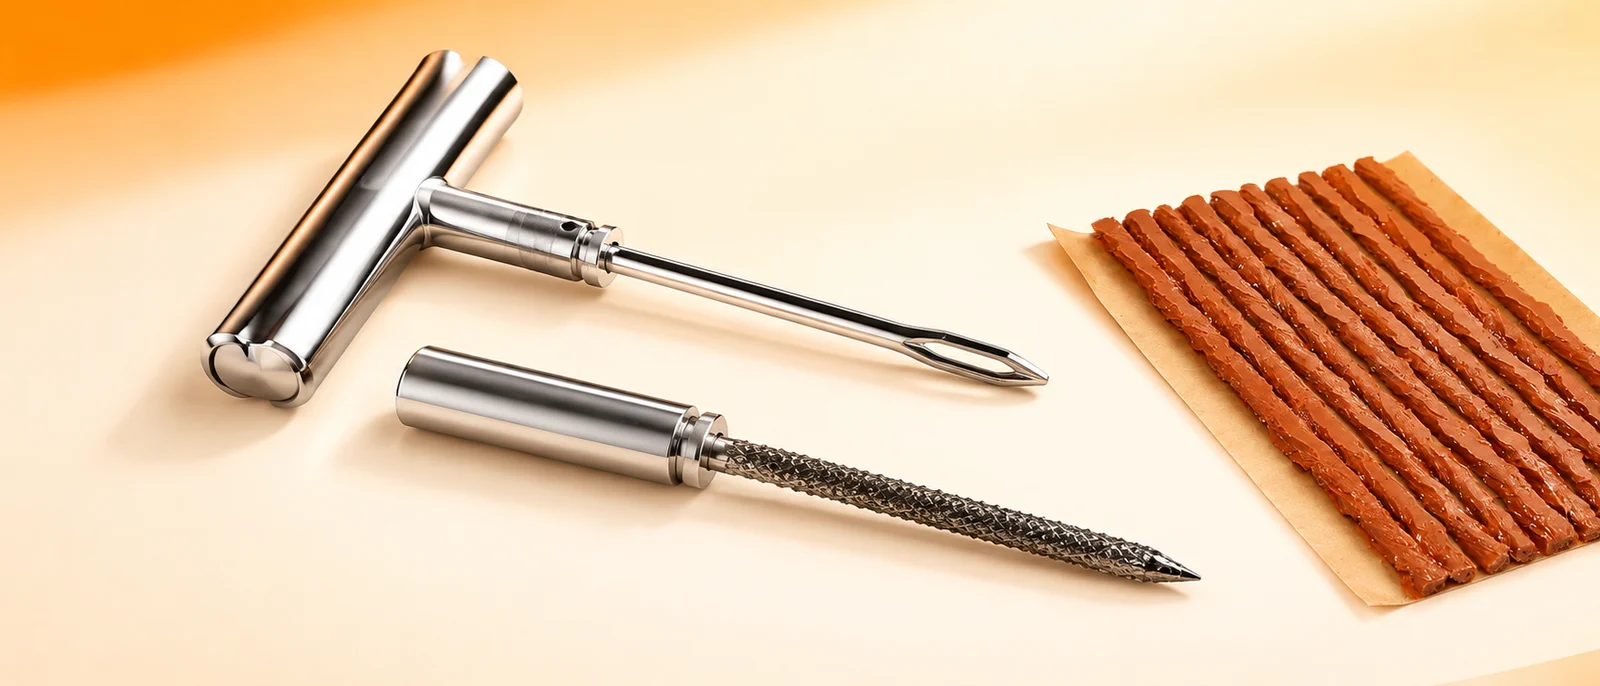
A tyre seal string is a rubber strip used for quick emergency puncture repairs on tubeless tyres. It is the classic roadside fix: fast, simple, and it gets the driver moving again until a proper internal repair can be made. This guide covers when to use one, how to do it step by step, and the mistakes that turn a quick fix into a failed repair.
When to use a seal string
- Small punctures in the tread area, away from the sidewall and shoulder.
- When the vehicle needs to reach a workshop safely.
- As a temporary repair only - it is not a substitute for a patch or mushroom plug.
Do not use a seal string on sidewall damage, on cuts where the cords are exposed, or on a tyre that has been run flat and overheated. In those cases the tyre must be replaced.
What you need
- A seal string sized for the puncture (our range runs from 100 x 3.5 mm up to 200 x 6 mm).
- A rasp / reamer tool to clean and roughen the hole.
- A insertion tool with an eye for threading the string.
- Vulcanising cement to bond the string in place.
- Pliers to pull the tool out, and a knife to trim the tail.
Step-by-step emergency repair
- Locate the puncture and remove the object if it is still embedded.
- Roughen and clean the hole with the rasp tool, working it in and out to remove debris.
- Coat the seal string with the vulcanising cement supplied.
- Thread the string through the eye of the insertion tool, centred so both ends are equal.
- Push the tool fully into the puncture so the string passes right through the casing.
- Pull the tool out while rotating it, leaving the string seated in the hole with a small tail above the tread.
- Trim the tail flush with the tread and re-inflate the tyre to the correct pressure.
- Check for leaks with soapy water, then drive to a workshop for a permanent repair.
Single vs double string
For larger holes, two strings can be inserted together or the process repeated with a second string to fill the channel. A double string grips better in a slightly oversized puncture, but a hole too large for the string to seal is a sign the tyre should be replaced, not repaired.
Common mistakes
| Mistake | Result | Do this instead |
|---|---|---|
| Not cleaning the hole | String does not bond; slow leak | Rasp thoroughly before inserting |
| No cement | String works loose in service | Always coat with vulcanising cement |
| Pushing the string too shallow | Leaks or falls out | Insert the full depth of the tool |
| Leaving a long tail | Noise and further damage | Trim flush with the tread |
| Treating it as permanent | Hidden internal damage | Follow up with an internal patch or mushroom plug |
When to choose a permanent repair
For long-term safety, a seal string should be followed by an internal repair using a tyre patch or mushroom patch plug, applied from the inner liner. Compare the options in our patch vs plug guide. Our tyre seal strings are available in standard sizes for cars and light trucks in both 100 mm and 200 mm lengths.
- BS AU 159 (UK standard for the repair of car and light van tyres) - guidance on temporary versus permanent repair
- Product sizes and specifications: Century Auto Parts published product data